Overview
In the vast digital marketplace, e-commerce businesses are continually seeking innovative ways to expand their online presence and reach potential customers effectively. Leveraging the power of Google and Facebook advertising is an essential strategy for achieving these goals, and setting up a shopping feed is the gateway to unlocking unparalleled opportunities for e-commerce success.
Did you know that 35% of product searches start on Google? How about the fact that a third of Facebook users in the US use the Facebook Marketplace to buy and sell products?
In light of those statistics, ensuring that your products are visible on these external marketplaces should be a no brainer. You should be aiming to connect your products to people wherever they’re shopping – and you can bet that many of them will be shopping via Google and Facebook.
In this article, we’re going to walk you throw the basic process of linking up your eCommerce site to these marketplaces. We’ll be showing you how to set up your shopping feed for Google, and how to get your products listed on the Facebook marketplace.

Google Shopping setup
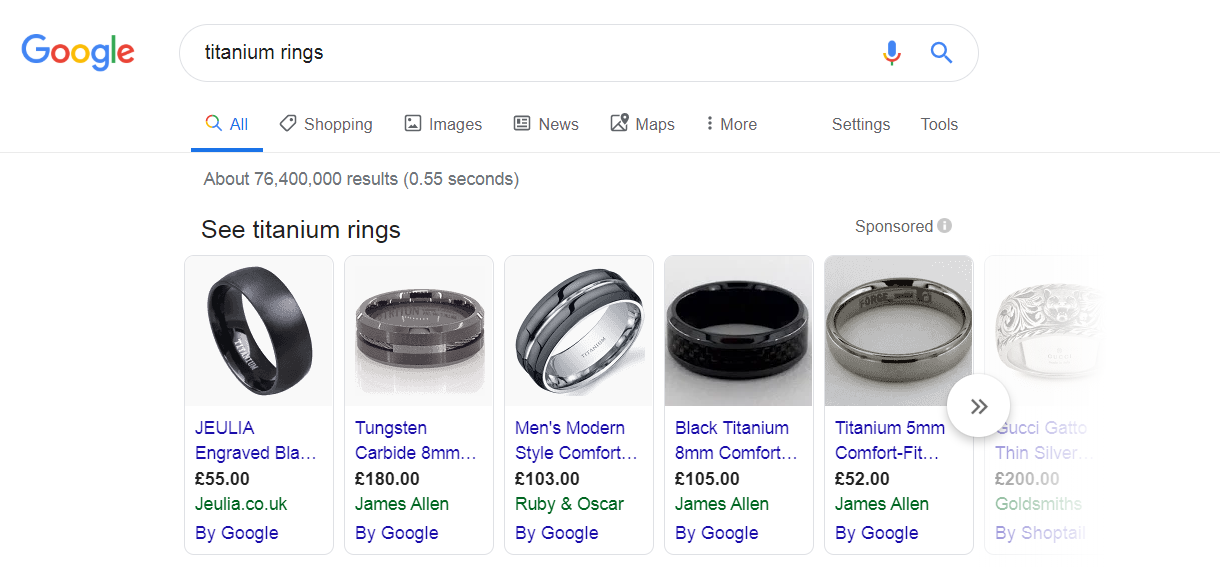
First off, let’s run through the basics of how Google Shopping works. Shopping campaigns on Google work very differently than Search campaigns.
On Search campaigns, advertisers bid on specific keywords. In other words, they choose what queries they want their ads to show up for. This isn’t the case for Google Shopping campaigns; you have much less control over the queries your ads show up for.
With Shopping campaigns, Google determines the queries your ads will be most relevant for based on the information in your Google Shopping feed. The more well-optimized and robust your shopping feed us, the more often you’ll show up for queries relevant to your products.

That’s why the first thing you need to do (assuming that you already have your eCommerce store platform fully set up, complete with product pages) is to create your Google Shopping feed.
Step 1: Create Your Google Shopping Feed / Product Feed
Your Google Shopping feed is basically a simple spreadsheet that contains all of the relevant information about your product. It organizes this information into different columns of a table so that Google can more easily crawl and understand it.

The kind of information you’ll need to fill in for each of your products includes things like the product title, description, brand, price, availability, and so on. You need to be very careful when filling this out and make sure you get it right to Google’s exact specifications, otherwise, your products might not be approved. You should also try to be as thorough and accurate as possible.
If you don’t have a lot of products in your catalog, you can create your product feed manually using Google Sheets or Microsoft Excel and save it in an XML file to upload to Google Merchant Center.
However, if you have a lot of products, this can take a while. An easier way to go about it is to use a tool or plugin/extension on your eCommerce platform that helps with feed creation. All the major eCommerce platforms have such tools. For example, on WooCommerce, you can install the WooCommerce Product Feed PRO to help.
Step 2: Create and configure your Google Merchant Center account
The next step is to create your Google Merchant Center account, which you can do here. Just follow the process to verify your domain and claim your URL via any of the options.
Once your account is ready to go, you’ll need to configure your shipping settings by clicking ‘shipping’ in the sidebar and filling in the required information. If you’re in the US, you might also need to configure your tax settings.
Step 3: Upload Your Shopping Feed
After that, you should be able to upload your Google Shopping feed to the Merchant Center.
You might not need to do this step at all, depending on the eCommerce platform you’re using. Some, like Shopify, connect to Google Merchant Center and send your feed data automatically.
Once you’ve uploaded your feed, Google will process it and let you know if there are any errors you need to fix. Often, there are lots of them, so be prepared to spend the next hour or so troubleshooting and tweaking your Shopping feed sheet to iron them out.
After all that’s finished, you can launch a campaign.
Setting Up Facebook Marketplace
Linking up your eCommerce store to the Facebook Marketplace is much easier and should be doable in well under an hour, assuming your eCommerce store is already completely set up.
However, you should be aware that only eCommerce retailers who work with specific listing partners are eligible to list inventory on the Facebook Marketplace. The eCommerce stores that are able to link with Facebook marketplace include:
- BigCommerce
- Shopify
- ChannelAdvisor
- Quipt
- CommerceHub
- ShipStation
- Zentail
The setup process is slightly different depending on which of these platforms your eCommerce website is built on. To find out instructions for your specific listing partner, head to this page and click on the ‘get started link next to the appropriate partner, then follow the instructions.
To give you an idea of how easy it is, here’s the process for BigCommerce:
- Make sure your store inventory is accurate and up-to-date
- Go to the BigCommerce control panel
- Click on ‘Channel Manager’ and then select the Facebook icon
- Review the rules and click the box to say you’re interested
- Wait a few days for your site to go through Facebook’s review process and find out if you’re verified to sell
Assuming it all goes through, your products will be listed for sale on the Facebook Marketplace. Easy, right?

